Sourdough Everything Bagels
Make chewy sourdough everything bagels with an active starter, overnight ferment, quick boil and 20-minute bake. Step-by-step and tips included.

Recipe courtesy of Feed the Malik. Photo by Anela Malik.
Perfect recipe to make something new out of that trendy sourdough starter in your fridge.
Yield: 8 Bagels
- Use 150 g active, recently fed starter and let the dough rest 8 to 10 hours for flavor and rise.
- Develop gluten by kneading until the windowpane test passes, then shape, proof until the float test passes, boil 30 seconds per side, and bake at 425 F.
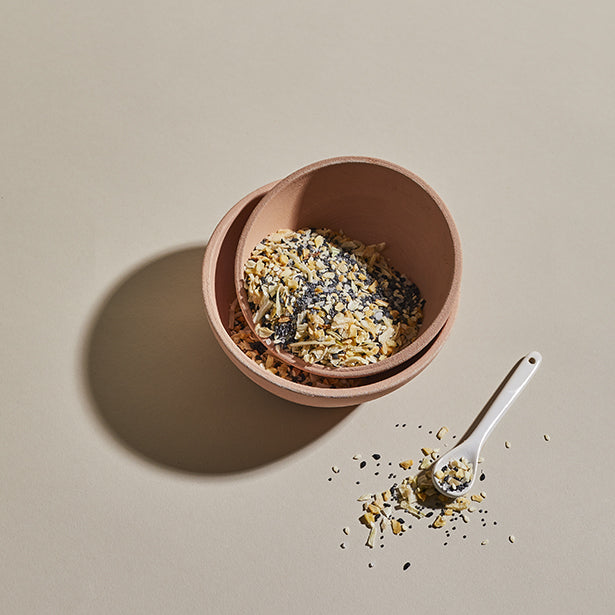
- Top with everything seasoning right after boiling so seeds stick, and bake 20 minutes total for a chewy interior and golden crust.
Spices
Featured in this Recipe

Preparation Instructions:
thespicehouse.com
Frequently Asked Questions
Do I need a recently fed and active starter?
Yes. Use 150 grams of a bubbly, recently fed starter. If your starter is sluggish, feed it and wait until it becomes active and airy before mixing the dough. An active starter gives the best rise and flavor.
Can I use all-purpose flour instead of bread flour?
You can, but bread flour gives a firmer, chewier bagel because it has more protein. If you only have all-purpose flour, the bagels will be softer. To get more chew, add a tablespoon of vital wheat gluten per cup of all-purpose flour.
How do I know the dough is ready to rest and shape?
Knead 5 to 10 minutes until the dough is smooth and elastic. Use the windowpane test: stretch a small piece until it becomes thin enough to see light through without tearing. If it stretches, the gluten is developed and the dough is ready to bulk ferment.
What is the float test and why is it important?
The float test checks if a shaped bagel has enough internal gas to keep its shape during boiling. Drop one shaped bagel into a bowl of cold water. If it floats, it is ready to boil. If it sinks, let the shaped bagels rest covered and try again every 25 to 30 minutes.
Why do you boil bagels and for how long?
Boiling sets the crust and creates the classic chewy, glossy exterior. Boil each bagel in a rolling boil for about 30 seconds on each side, then remove and top while still wet so seeds and seasoning stick.
How should I store or freeze these bagels?
Cool completely. Store at room temperature in a paper bag for up to 2 days, then transfer to plastic if needed. For longer storage, slice and freeze in a sealed bag. Toast or warm straight from frozen to refresh.
Can I make smaller or more bagels from the same dough?
Yes. The recipe makes eight medium bagels, about 114 grams of dough each. For smaller bagels, divide into more pieces and expect slightly shorter boil and bake times. For very small rolls, watch the bake so they do not overbrown.
Comments