Maple Bar Donuts
Practical answers for making chewy maple bar donuts: proofing, frying, icing with agar, gluten tips, storage, and substitutions.
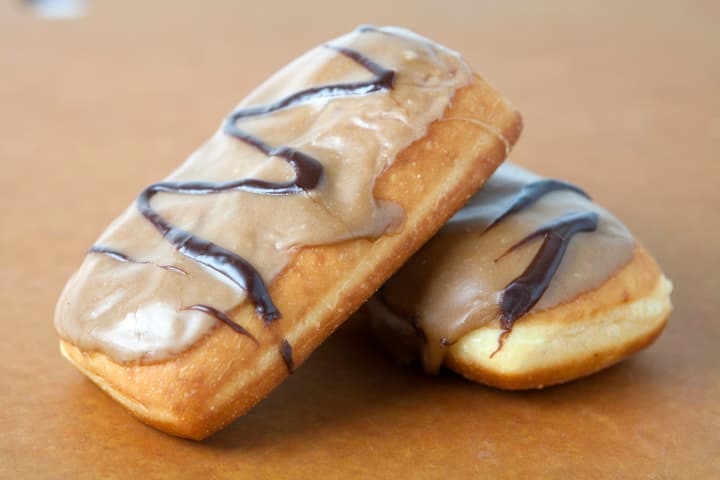
These addicting donuts are a bit of a project, but well worth the effort. Don't skimp on the bacon garnish.
Submitted by: Sandra from 37 Cooks
- Use a stand mixer and a candy thermometer for consistent dough development and safe frying at 350°F.
- Proof the dough in a cool oven with a pan of hot water to get a reliable rise for shaping and frying.
- Agar makes the maple icing set quickly; add vital gluten only if your bread flour protein is low for a chewier bar.
Spices
Featured in this Recipe


Preparation Instructions:
thespicehouse.com
More About This Recipe
Frequently Asked Questions
Do I need a stand mixer?
No, but a stand mixer with a dough hook makes mixing and gluten development much easier. You can mix and knead by hand, but plan for 10 to 15 extra minutes of kneading and more elbow grease to reach the same smooth, elastic dough.
Why does the recipe call for vital wheat gluten?
Vital wheat gluten boosts chewiness and structure when your bread flour has lower protein. If your bread flour is 12% protein or less, add the gluten. If you like a cakier donut, you can skip it.
What does agar do in the icing and can I skip it?
Agar makes the icing set fast and stay thick so it does not drip. It is vegetarian and gives an almost instant firm glaze. You can omit it, but the icing will be thinner and will take longer to set and may drip.
How do I know when the oil is ready and how long to fry?
Use a candy or deep-fry thermometer and hold the oil at 350°F. Fry 1 or 2 bars at a time to keep temperature steady. Cook about 30 to 45 seconds on the first side, flip, then 20 to 30 seconds until light golden.
Can I use butter instead of Crisco?
You can, but butter changes dough texture and flavor. Butter adds taste but makes the dough softer and may require chilling. If you swap in butter, use unsalted, expect a slightly different rise, and handle the dough gently.
How can I proof the dough if I do not want to use the oven trick?
Use any warm, draft-free spot: a turned-off oven with the light on, a microwave with a cup of hot water, or a proofing box. The key is a consistent warm, humid environment so the dough doubles in about an hour.
Can I make these ahead and how do I store leftovers?
You can shape and refrigerate the bars overnight; they will need time to come to room temperature and finish proofing before frying. Cooked bars keep 1 to 2 days at room temperature in an airtight container. Un-iced bars freeze up to 1 month; thaw and warm briefly before glazing.
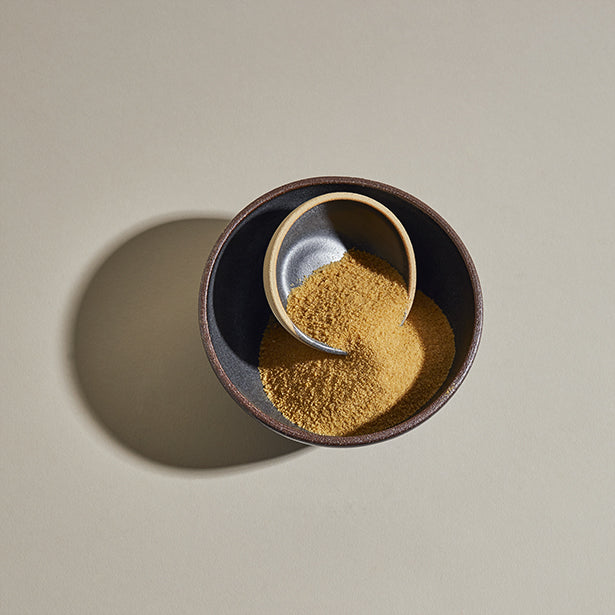
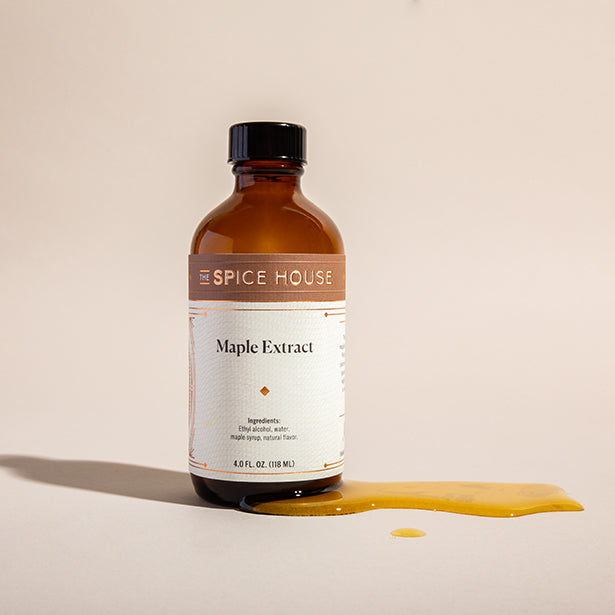
What can I use instead of maple sugar or maple extract?
Substitute light brown sugar or granulated sugar plus a tablespoon of real maple syrup for maple sugar. If you lack maple extract, use a little maple syrup but reduce total liquid in the icing slightly to keep consistency.
Do I need a stand mixer?
No, but a stand mixer with a dough hook makes mixing and gluten development much easier. You can mix and knead by hand, but plan for 10 to 15 extra minutes of kneading and more elbow grease to reach the same smooth, elastic dough.
Why does the recipe call for vital wheat gluten?
Vital wheat gluten boosts chewiness and structure when your bread flour has lower protein. If your bread flour is 12% protein or less, add the gluten. If you like a cakier donut, you can skip it.
What does agar do in the icing and can I skip it?
Agar makes the icing set fast and stay thick so it does not drip. It is vegetarian and gives an almost instant firm glaze. You can omit it, but the icing will be thinner and will take longer to set and may drip.
How do I know when the oil is ready and how long to fry?
Use a candy or deep-fry thermometer and hold the oil at 350°F. Fry 1 or 2 bars at a time to keep temperature steady. Cook about 30 to 45 seconds on the first side, flip, then 20 to 30 seconds until light golden.
Can I use butter instead of Crisco?
You can, but butter changes dough texture and flavor. Butter adds taste but makes the dough softer and may require chilling. If you swap in butter, use unsalted, expect a slightly different rise, and handle the dough gently.
How can I proof the dough if I do not want to use the oven trick?
Use any warm, draft-free spot: a turned-off oven with the light on, a microwave with a cup of hot water, or a proofing box. The key is a consistent warm, humid environment so the dough doubles in about an hour.
Can I make these ahead and how do I store leftovers?
You can shape and refrigerate the bars overnight; they will need time to come to room temperature and finish proofing before frying. Cooked bars keep 1 to 2 days at room temperature in an airtight container. Un-iced bars freeze up to 1 month; thaw and warm briefly before glazing.
What can I use instead of maple sugar or maple extract?
Substitute light brown sugar or granulated sugar plus a tablespoon of real maple syrup for maple sugar. If you lack maple extract, use a little maple syrup but reduce total liquid in the icing slightly to keep consistency.
Comments