Devilish Dill Deviled Eggs
Tangy deviled eggs with Devilish Dill seasoning. Easy recipe, tips for smooth filling, piping, garnish and storage.
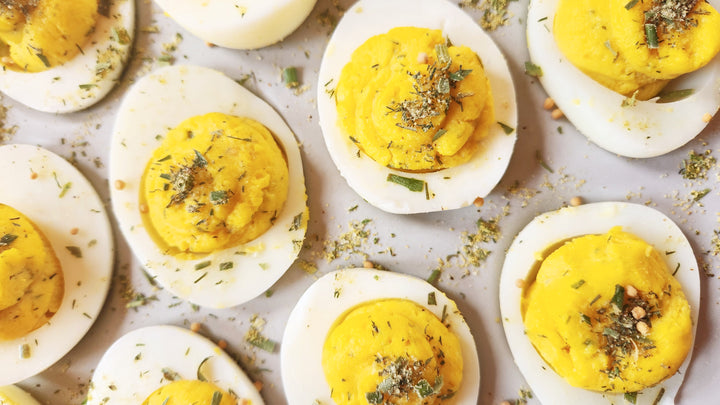
Deviled eggs will put you on cloud nine when made with this mustardy melange, featuring Devilish Dill from our partnership with Lisa Steele from Fresh Eggs Daily.
Submitted by: Lisa Steele from Maine
- Mix mashed yolks with mayo, lemon and Devilish Dill for a bright, mustardy filling.
- For silky texture, mash well or press the yolks through a sieve; pipe or spoon into whites.
- Make ahead by prepping whites and filling separately and refrigerate. Add Vulcan's Fire Salt for heat.
Preparation Instructions:
thespicehouse.com
More About This Recipe
Frequently Asked Questions
How many deviled eggs does this recipe make?
Using 6 hard boiled eggs gives 12 halves. That typically serves 4 to 6 people, depending on how many halves each person eats.
Can I replace Devilish Dill seasoning?
Yes. Use a dill-forward spice mix or make your own with dried dill plus a bit of mustard powder, salt and a pinch of onion or garlic powder to mimic the flavor.
Can I use Greek yogurt or sour cream instead of mayonnaise?
Yes. Swap in equal parts Greek yogurt or sour cream for a tangier and lighter filling. Texture will be slightly thinner, so add less at first and adjust to reach the right consistency.
How do I get a smooth, lump-free yolk filling?
Mash the yolks thoroughly with a fork, then stir in mayo gradually. For extra silkiness, press the mixture through a fine mesh sieve or pulse briefly in a small food processor.
What is the easiest way to pipe the filling?
Use a pastry bag with a large round or star tip. If you do not have one, fill a heavy zip-top bag, snip a small corner, and squeeze the filling into the whites for a neat finish.
How long can deviled eggs sit out at a party?
Per food safety guidance, do not leave deviled eggs at room temperature for more than 2 hours. Keep them chilled until serving and return leftovers to the fridge promptly.
Can I make deviled eggs ahead of time?
Yes. You can prepare the egg whites and filling up to 24 to 48 hours ahead and store them separately in the fridge. Assemble shortly before serving for best texture. If already filled, keep covered and refrigerated and add final garnish right before serving.
Comments